


Overview
Site Reliability Engineers (SRE) are keen on managing an organization’s cloud infrastructure. Terraform is an open-source tool that helps you achieve that. It also helps you with automating various manual deployments. In this blog, you’ll learn insights about Terraform, its workflow, CLI commands, and finally, a hands-on deployment of an S3 bucket in the AWS cloud.
What is IaC?
Infrastructure as Code (IaC) is the managing and provisioning of infrastructure components through code instead of making it via a console.
Like any other code, with IaC, you can write the configuration files that contain your infrastructure's specifications. The configurations are easier to edit, and it also ensures the same environment is provisioned every time.
It helps in avoiding undocumentation and ad-hoc configuration changes. Version control is one of the vital parts of IaC, and all your configuration files should be under some version control tools like GitHub, Gitlab, etc.
Introduction To Terraform
Terraform is written in HashiCorp Configuration Language (HCL). And as an IaC solution from HashiCorp, Terraform enables you to specify cloud and on-premises resources in human-readable configuration files that you can reuse, distribute, and version.
Once your infrastructure is provisioned, it can always be managed using a standardized methodology. Both high-level components like DNS records and SaaS features, and low-level components like computing, storage, and networking resources, may be managed using Terraform.
The Workflow
Here are the three steps the Terraform workflow consists of:
a) Write:
The first step is to write the configuration file (IaC) to define or modify the underlying resources.
It can be as simple as deploying infrastructure components or application deployment. You can choose a well-known text editor like VS code and install the Terraform extension to the editor.
The configuration files are written either by HCL, the default language, or Cloud Development Kit for Terraform (CKDTF). This allows the users to develop using standard programming languages like Python, Typescript, Go, etc.
b) Plan:
In the second step, the plan is generated with the following changes to be made in the infrastructure configurations:
- Creation
- Modification
- Update
- Deletion of the resources
It will then show the preview of the changes.
c) Apply:
In the final step, the generated plan will be executed based on the user approval. The configuration of the resources will be updated accordingly.
Terraform will automatically identify the resource dependencies and implement the changes without causing any issues.
It will also maintain a state file, created during the initial execution phase, that frequently gets updated with the applied changes. This file helps Terraform keep track of the changes in the current state, so that configuration mismatch does not occur.
The Installation
We’ll start learning Terraform through a local installation. Terraform supports all operating systems like macOS, Windows, and Linux.
You can download it manually using a pre-compiled library, or use the package manager like Homebrew for Mac, Chocolatey for Windows, and apt/yum for Linux. HashiCorp also provides a managed solution called Terraform cloud.
In this blog, we’re using Terraform in macOS with Homebrew package manager.
To install Terraform from the brew package manager, run the following two commands in your terminal:
brew tap hashicorp/tap
brew install hashicorp/tap/terraform
To update Terraform, you need to update the brew package manager and then the Terraform. Run the following commands in your terminal:
brew update
brew upgrade hashicorp/tap/terraform
Terraform Cheat Sheet
Basic CLI Syntax:
Terraform [global options] [args]
To verify Terraform installation, terraform -version
To enable auto-completion, terraform -install-autocomplete
Here are some useful commands,
terraform -help — Helps you to get the list of available commands with a description. You can also find the sub-commands to get more details.
terraform fmt — Formats your Terraform configuration files using the HCL standard.
terraform fmt --recursive — Formats your Terraform configuration files and their sub-directories using the HCL standard.
terraform fmt --diff — Displays differences between original configuration files and formatting changes.
terraform init — Prepare the working directory for use with Terraform. The Terraform init command performs backend initialization, child module installation, and plugin installation.
terraform init -get-plugins=false — Initializes the working directory but will not download plugins.
terraform init -lock=false — Initializes the working directory, but will not hold a state lock during backend migration.
terraform init -input=false — Initializes the working directory and disables interactive prompts.
terraform init -verify-plugins=false — Initializes the working directory, but will not verify plugins for Hashicorp signature.
terraform validate — Validates the configuration files in your directory but does not access any remote state or services. Note: Terraform init should be executed before this command.
terraform plan — Helps generate the preview plan, which contains the changes to be made when use apply.
terraform plan -out= — Helps generate the preview plan, which can be stored in a specific path.
terraform plan -destroy — Creates a plan to destroy all objects.
terraform apply — Runs after the plan to create or update infrastructure changes depending on the config files. By default, the plan will be generated first and must be approved before it is applied.
terraform apply -auto-approve — Applies the changes without any intervention. It is helpful in the automation of CI/CD pipelines.
terraform apply — Applies the changes based on the generated plan, which passed as an argument here.
terraform apply -lock=false — This does not hold a state lock during the Terraform apply operation. Use this command with caution when different engineers work in the same workspace.
terraform destroy — Destroys all the infrastructure which Terraform manages.
terraform destroy -target=”module.appgw.0" — Destroys only the targeted resource.
terraform destroy -auto-approve — Applies the changes without any intervention. It is helpful in the automation of CI/CD pipelines.
terraform state list — Lists all the resources tracked in the current state file.
terraform state mv — Moves an item in the state; when an item is renamed, this will be useful.
terraform state pull > state.tfstate — Gets the current state and outputs it to a local file.
terraform state push — Updates the remote state from the local state file.
Deploying an S3 bucket in AWS Cloud
Let’s start our first Terraform deployment of an S3 bucket in AWS.
As a prerequisite, you’ll need to follow these steps:
- Sign up for the AWS account with a free tier
- Get the Access Key and Secret Key of the IAM user
- Add permission to the user to create an S3 bucket
- Install Terraform in your local system
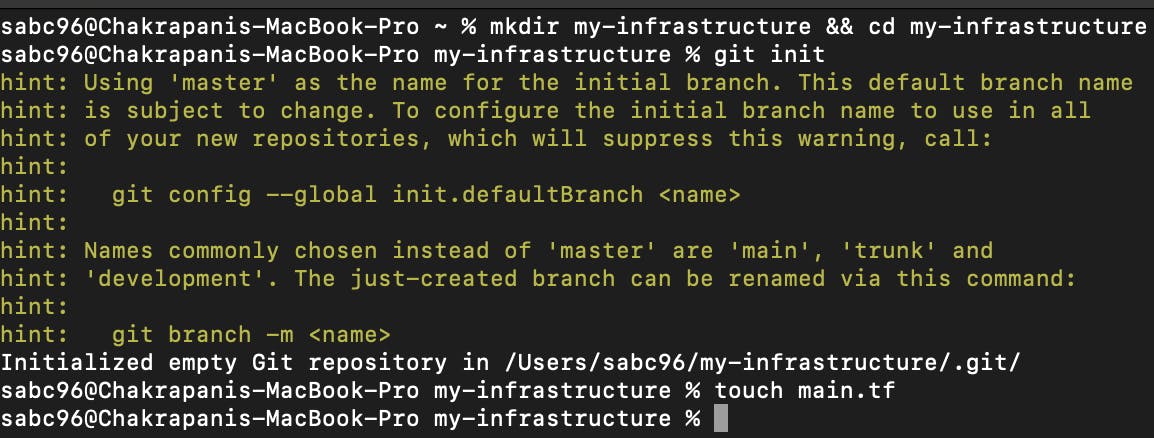
It is recommended to have your terraform configuration files under the version-controlled system. Initialize an empty git repository named my-infrastructure and create a Terraform configuration file named main.tf inside the repository.
git init my-infrastructure && cd my-infrastructure   //Initialize empty git repository.
touch main.tf     //main.tf file is created
Here is how the main.tf file should look like.
terraform {
 required_providers {
   aws = {
     source  = "hashicorp/aws"
     version = "~> 3.0"
   }
 }
}

# Configure the AWS Provider
provider "aws" {
 region     = "us-east-1"
 access_key = "###############"  #Pass the Access Key value for authentication
 secret_key = "###############"   #Pass the Secret Key value for authentication
}

#Create AWS S3 bucket
resource "aws_s3_bucket" "secure_s3_bucket" {
 bucket        = "my-s3-bucket-368"
 force_destroy = false

 tags = {
   Environment = "Demo"
   Owner       = "Sabari"
   Purpose     = "Test"
 }

}

#Set the ACL of S3 bucket to Private
resource "aws_s3_bucket_acl" "secure_s3_bucket_acl" {
 bucket = aws_s3_bucket.secure_s3_bucket.id
 acl    = "private"
}

#Disable the S3 buckets versioning configuration
resource "aws_s3_bucket_versioning" "secure_s3_bucket_versioning" {
 bucket = aws_s3_bucket.secure_s3_bucket.id
 versioning_configuration {
   status = "Enabled"
 }
}

#Block the public access for this S3 bucket
resource "aws_s3_bucket_public_access_block" "secure_s3_bucket_block_public_access" {
 bucket = aws_s3_bucket.secure_s3_bucket.id

 block_public_acls   = true
 block_public_policy = true

}
The above file should be at the root of the my-infrastructure directory.
From there, you have to run the initialization command.
terraform init
Output:
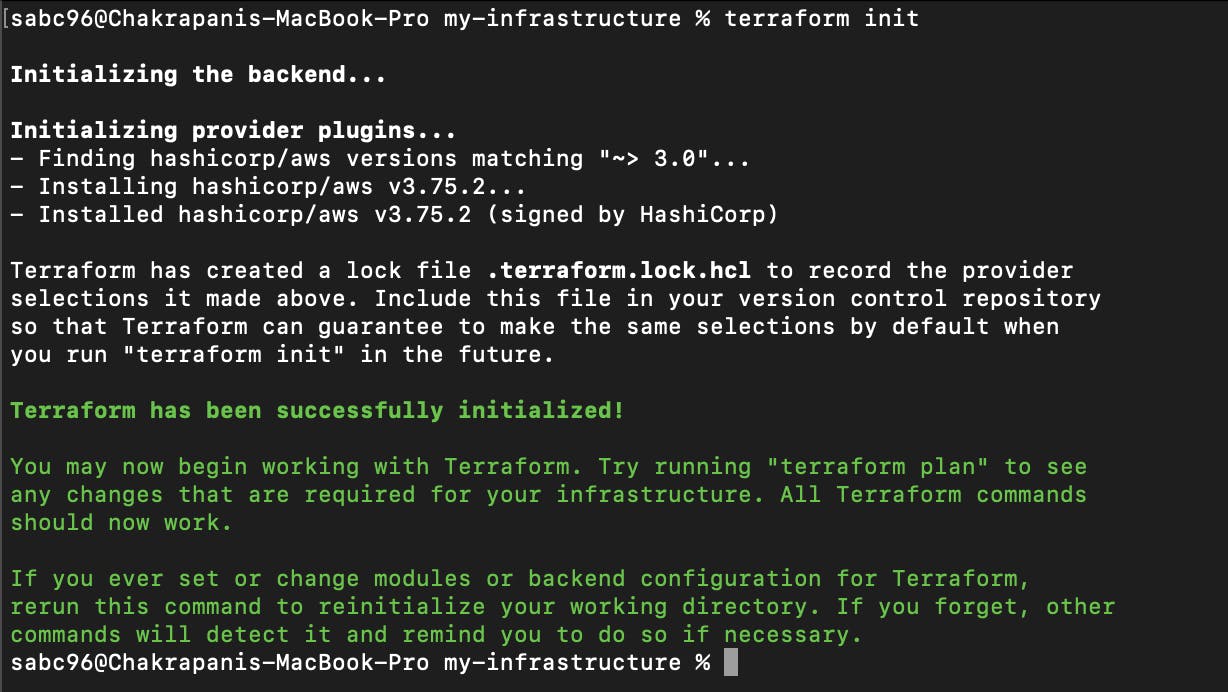
Once the Terraform has been successfully initialized, you have to run the Terraform plan command to generate the plan.
terraform plan -out tfplan
Output:

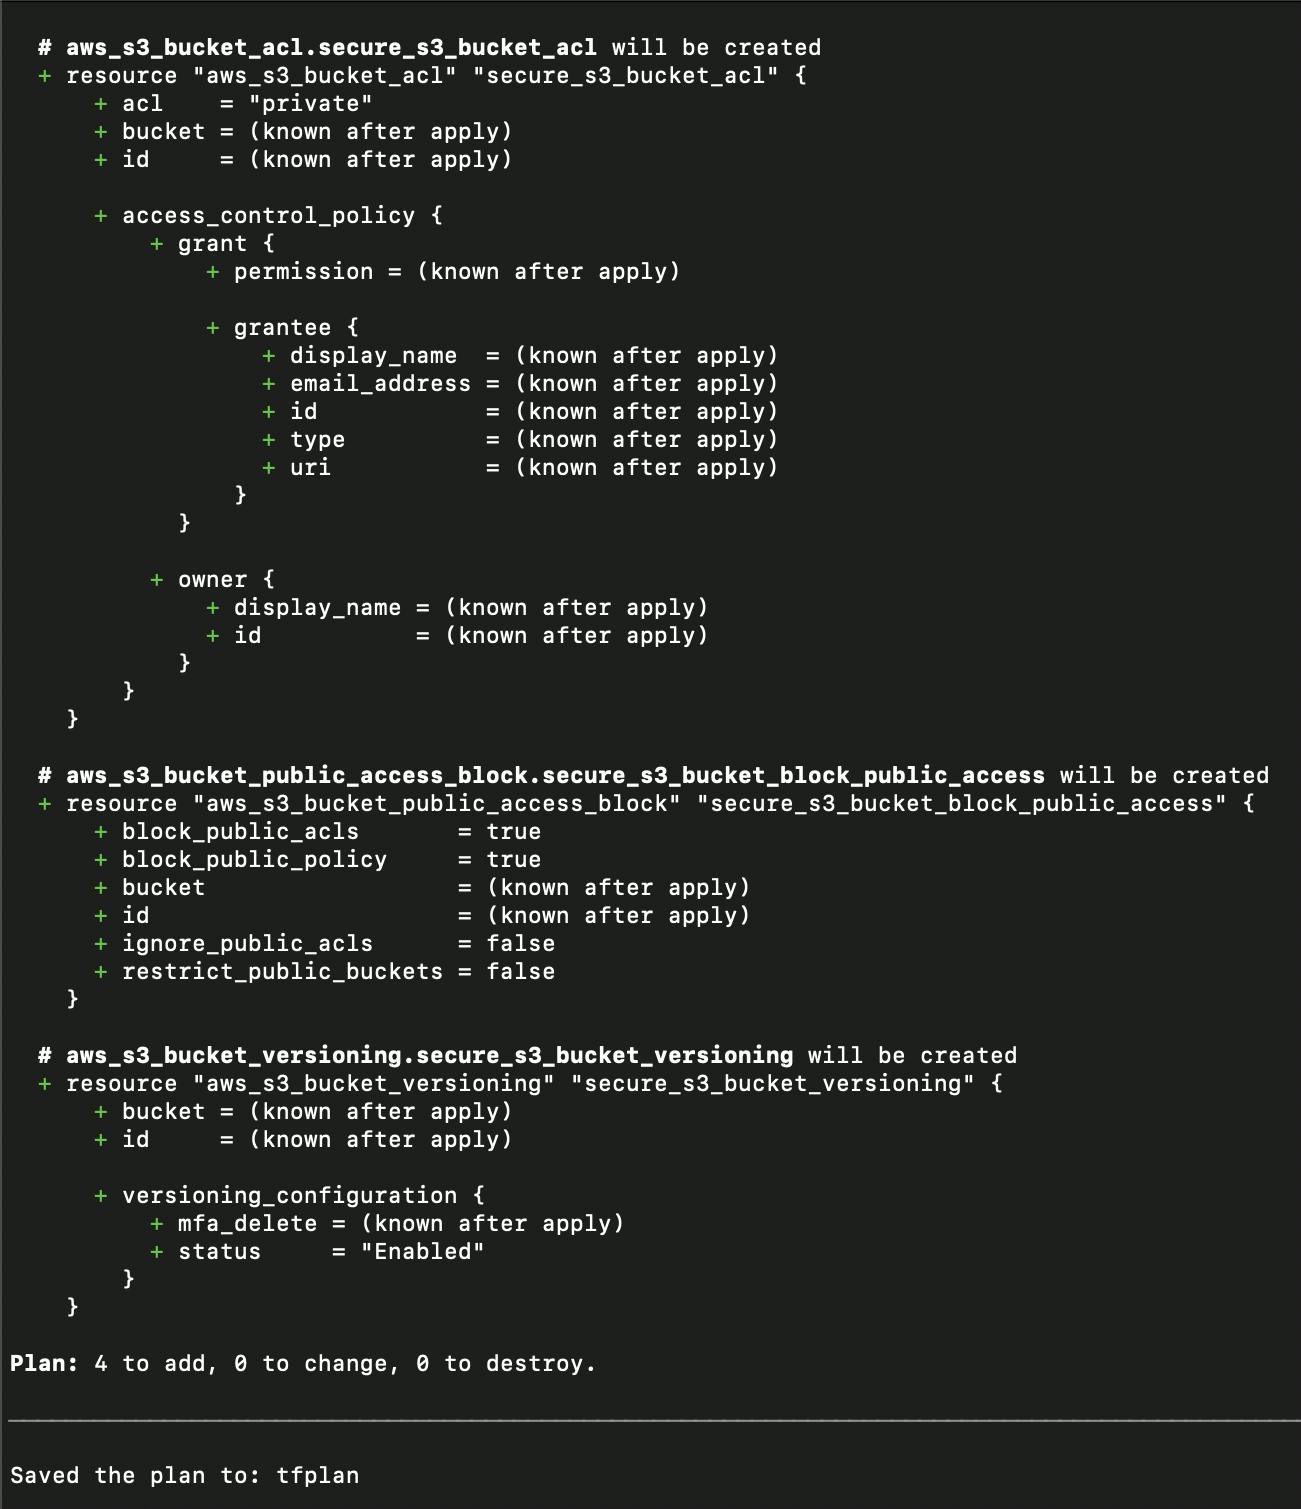
After reviewing the plan, if you don't have any discrepancy in the generated plan. Then, you can commit the code.
git add . //Stage the changes of the current Repository
git commit -m “Infrastructure as Code - Plan - v1.0” //Commit the staged changes
Now you can apply the changes with the generated file tfplan.
terraform apply “tfplan”
The above command will prompt confirmation; after one last check, we can confirm and apply the changes to provision the real infrastructure.
Output:
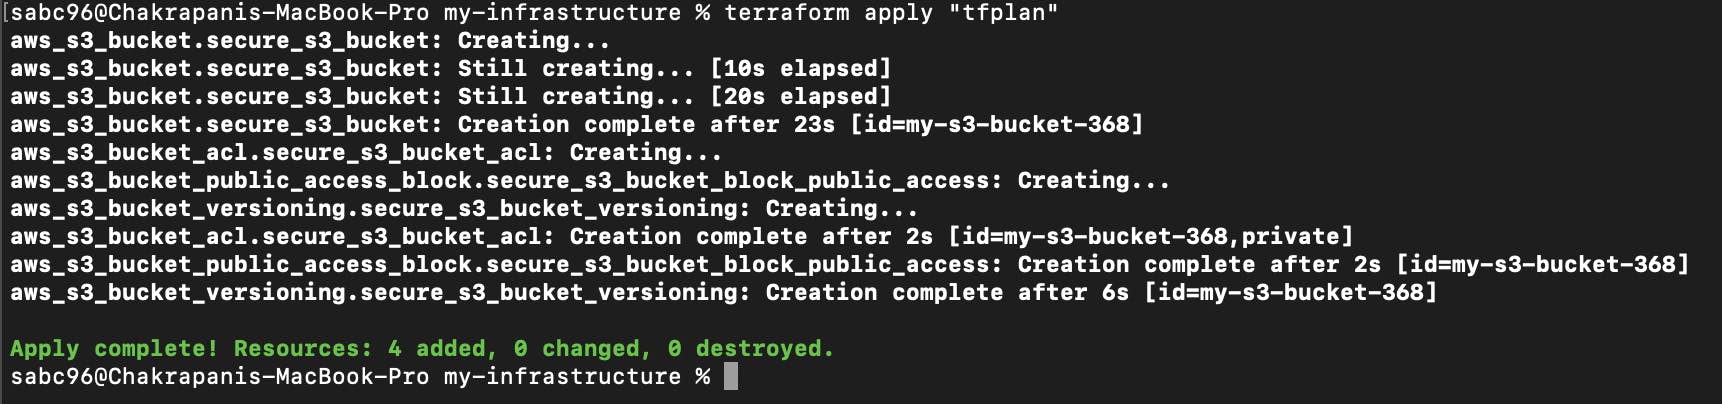
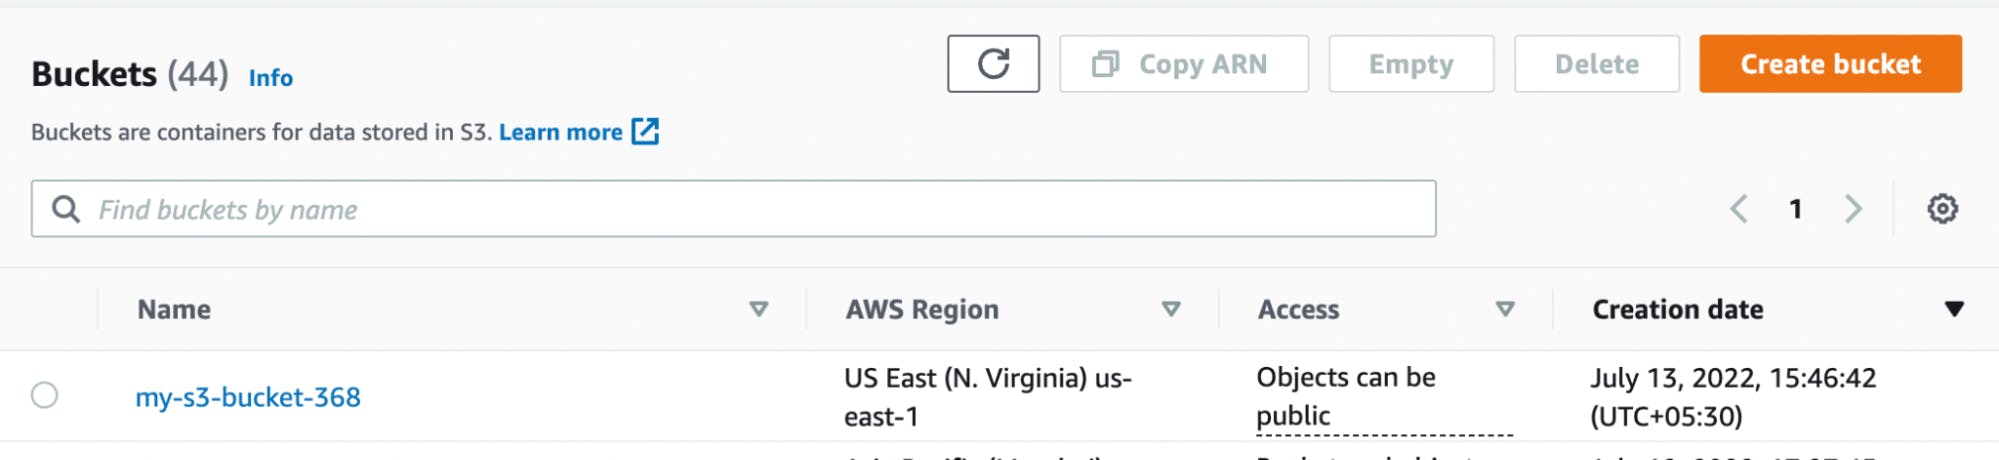
Wondering if you can check in the AWS console whether the S3 resource is deployed properly? Yes, you can. You can see the S3 bucket in your AWS account.
At this point, pushing our local changes to the remote Repository is very common and must be done.
git push origin main
Conclusion
This blog gives you insights about the IaC, Terraform, its workflow, and an introduction to a few frequently used commands in Terraform. You also learned how to deploy a simple S3 bucket in AWS using the local setup of Terraform.
There is more to learn from creating reusable modules but we will touch base on those topics in our future blogs. Stay tuned!